Exporting ZBrush Model to Maya Test
- Aleksandra Korinnaja
- Mar 28, 2019
- 4 min read
Approach No.1 : Importing a Ztool into Maya 2019 using GoZ
The following tutorial was used as reference:

1. Bring the Ztool to its lowest subdivision.

2. Assign UV Map by grouping UV tiles (GUVTiles)

3. Create a texture map for export by first bringing the Ztool to its highest subdivision. Then going into Texture Map -> Create -> New From Polypaint.

4. Create a displacement map by bringing the Ztool back into its lowest subdivision then go into Displacement Map -> SmoothUV -> Create DispMap.
5. Import into Maya by clicking the GoZ icon.
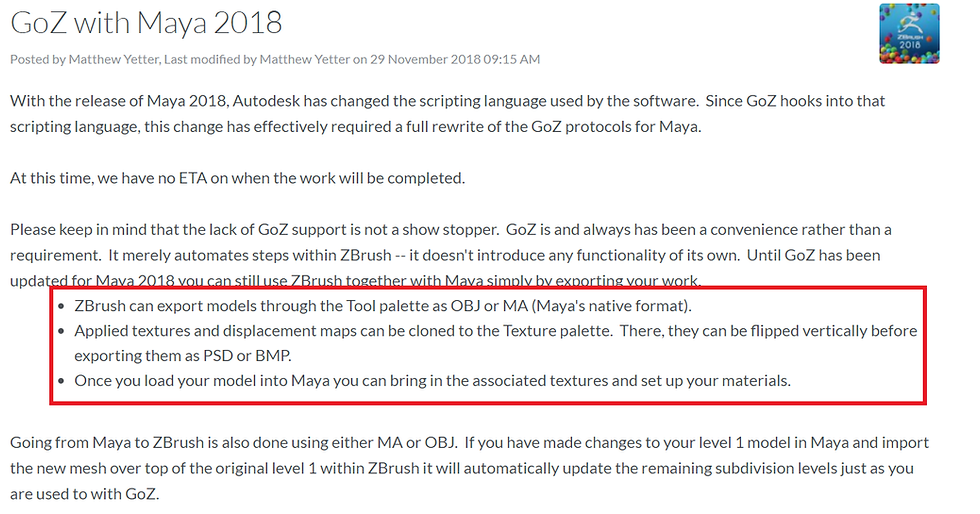
Although GoZ did connect to Maya and open a Maya scene, nothing was imported. I tried reconnecting with both Maya 2018 and Maya 2019 but each time the scene would be empty. Apparently many people were having the same problem on the blogs and forums I visited, with the 2018 version of Maya being non-responsive to GoZ. Further research led me to this statement from ZBrush:

Since the 2018 version does not support GoZ and there absolutely nothing on 2019 version's compatibility I decided to move on and try other methods.

Approach No.2 : Importing Ztool into Maya as an OBJ
The following video was used as reference:

1. Convert the Ztool into its lowest subdivision by switching on All Low under Subtool.

2. Export as an OBJ.
3. In Maya's Import Options set the File Type to OBJ.
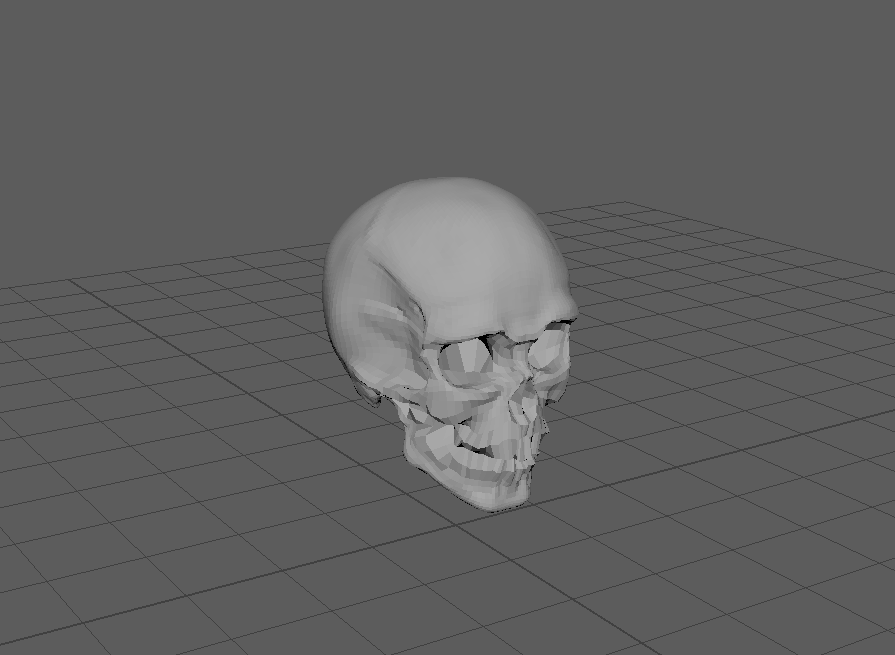
This time, a low-poly Ztool did appear in the Maya scene but none of the associated maps were transferred with it.


Approach No.3 : Importing Ztool into Maya as an OBJ together with associated maps
Reference No.1:

1. To create UVs bring the Ztool to its lowest subdivision.
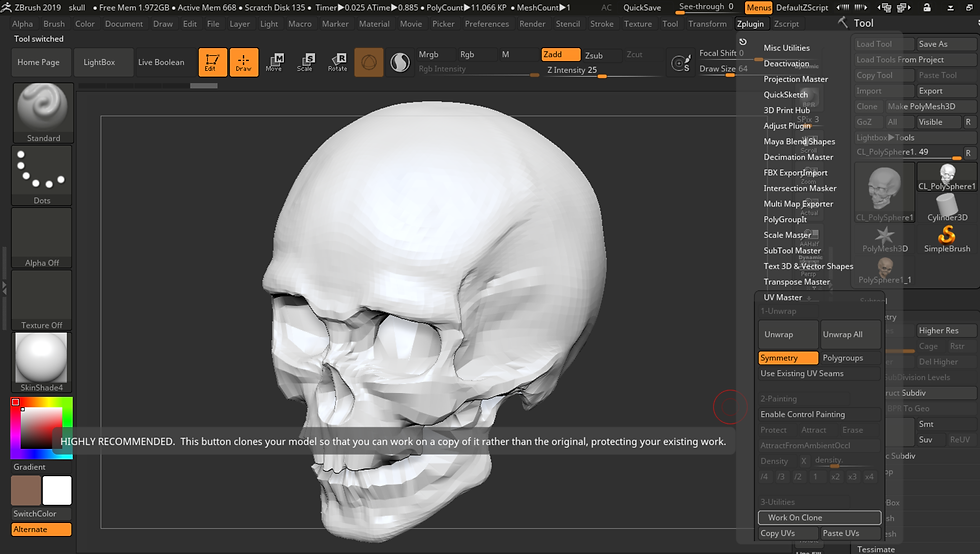
2. Go to Zplugin -> UV Master and switch on Work on Clone. Anything you do to the clone will not transfer to the original model.

3. Turn on Draw Polyframe.
4. Go to Zplugin -> UV Master -> Unwrap
-> Copy UVs.
5. Go back to the original model and Paste UVs.

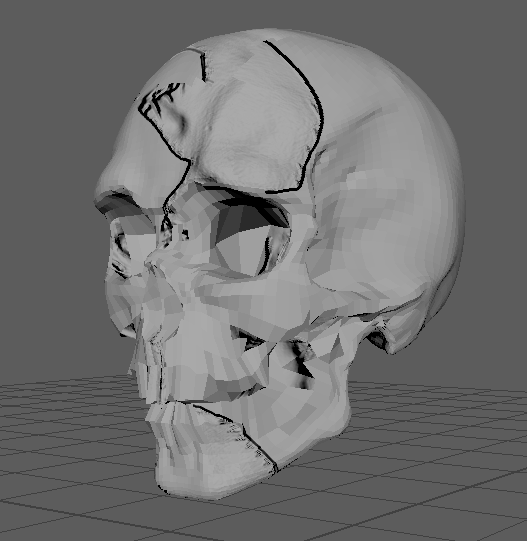
Unwrapped cloned model.

Unwrapped original model.
6. To create a texture map bring the Ztool to its highest subdivision.

7. Go into Texture Map -> Create -> New From Polypaint -> Clone Txtr.
8. Before exporting go into Texture and flip it vertically (Flip V) to match Maya's world coordinates.
9. Export as a JPEG.
Reference No.2 :

10. To create a normal map bring Ztool into its lowest subdivision.
11. Go to Normal Map -> Create NormalMap -> Clone NM.
12. Flip the texture vertically (Flip V) in Texture.

13. Export as a PSD.
This approach of applying the maps manually in Maya proved to not be the easiest as all the maps were skewed or rotated away from their original position.
On the left is the texture map and unwrapped UV map in Maya's UV Editor viewport.

This how the maps wrapped around the imported OBJ model. Even though all maps were flipped vertically to coincide with Maya's world coordinates they remained skewed.

Approach No.4 : Exporting Maya ASCII from ZBrush

1. Convert Ztool to its lowest subdivision and set the UVMAP resolution to 2048.
2. Generate packed UV tiles (PUVTiles) which are more efficient than AUVs and GUVs.
3. Bring the Ztool back to its highest subdivision and create a color map by going into Texture -> New From Polypaint.
4. Create a 16bit displacement map by going into Displacement and switching Adaptive, SmoothUV and Flip V on.
5. Switch back to the lowest subdivision and Create DispMap.

6. Export Ztool as Maya ASCII (.ma) which will export both the model and associated maps.
This approach is clearly more efficient and functional seeing how the low-poly model maintained its associated maps. However, the maps are once again off origin and if the material is completely turned off the skull loses any detail it has in the viewport.

On the left is a rendered version of the skull which shows that only the color map was transferred properly to the model.

Approach No.5 : Importing Ztool as an OBJ with associated maps applied as TIF files
The following video was used as reference:
1. Bring Ztool to its lowest subdivision.
2. Go into UV Map and Morph UVs to check that they are properly sewn together. If not create a UV map first.
3. Go into DipMap -> Clone Displacement.
4. Flip the map vertically (Flip V) and export as as a TIF file.
5. Import the Ztool into Maya as an OBJ.
6. Assign New Material to the mesh and choose File Texture under Displacement Material.
The change in file format did not change the maps being off origin.

Approach No.6 : Importing Ztool into Maya 2018 through a manually installed GoZ
While taking my time traversing through the internet in search of some guidance to my problem I found a tutorial from ZBrush on how to manually install GoZ into ZBrush to connect with Maya 2018. This required me to go into my ZBrush settings and paste the following line:


The GoZ links to Maya only featured version 2015 through to 2018 which explains why I couldn't find anything on the 2019 version. However, this process was fast and most importantly it worked. Once I had inserted that line I could easily send the Ztool along with all its associated maps to Maya with a single click.

Unfortunately, the displacement map was once again off center even though it was previously prepared for Maya's coordinates.

However, even without the displacement map the mesh preserved its level of smoothness and detail while remaining low-poly which means that it would be even more beneficial to apply a material in Maya which is not as heavy and faster to render.

From this point on I will be using Maya 2018 to build the environment and will be texturing also in Maya.

Comments